
From Local to Cloud: Setting Up Azure Blob Storage for Umbraco
What is Blob Storage ?
Blob storage is basically Microsoft Azure’s cloud-based file storage system — but instead of calling it “files,” Azure calls them blobs (short for Binary Large Objects).
Think of it like a giant hard drive in the cloud where you can store:
-
Images
-
Videos
-
Documents
-
Backups
-
Any other binary data
Why use Blob Storage for media?
-
Scalable Media Storage
-
Instead of storing media (images, videos, PDFs, etc.) on the web server’s file system, blob storage (like Azure Blob Storage) can handle virtually unlimited amounts of content. This means your Umbraco site can grow without worrying about running out of disk space or needing to migrate large media folders between servers.
-
-
Improved Performance & CDN Integration
-
Blob storage integrates easily with a Content Delivery Network (CDN). This allows your media to be served from locations closer to your users, reducing load times and taking the bandwidth load off your Umbraco web servers.
-
-
Simplified Cloud & Multi-Server Setup
-
In cloud or load-balanced environments, keeping media in sync across multiple Umbraco instances can be tricky. Blob storage acts as a central repository, so all instances pull from the same source—no more manual syncs or duplicated media folders.
-
How to set it up in umbraco
1. Install the Azure Blob Storage provider in NuGet Package Manager Console inside Visual Studio, the command is:
Install-Package Umbraco.StorageProviders.AzureBlob -Version 13.*
if you’re using Umbraco 13, you want the matching major version of the storage provider.
2. Create an Azure Storage Account
-
Go to Azure Portal → Create a resource → Storage account.
-
Choose your subscription, resource group, and storage name.
-
Region: pick the one closest to your main users.
-
Performance: Standard is fine for most sites.
-
Review & Create → Create.
3. Create a container for media
-
In your storage account, go to Containers → + Container.
-
Name it media.
-
Public access:
-
If you want public direct links → Blob (anonymous read access).
-
If you want private access → Private (Umbraco will serve files via proxy).
-
4. Get your connection string
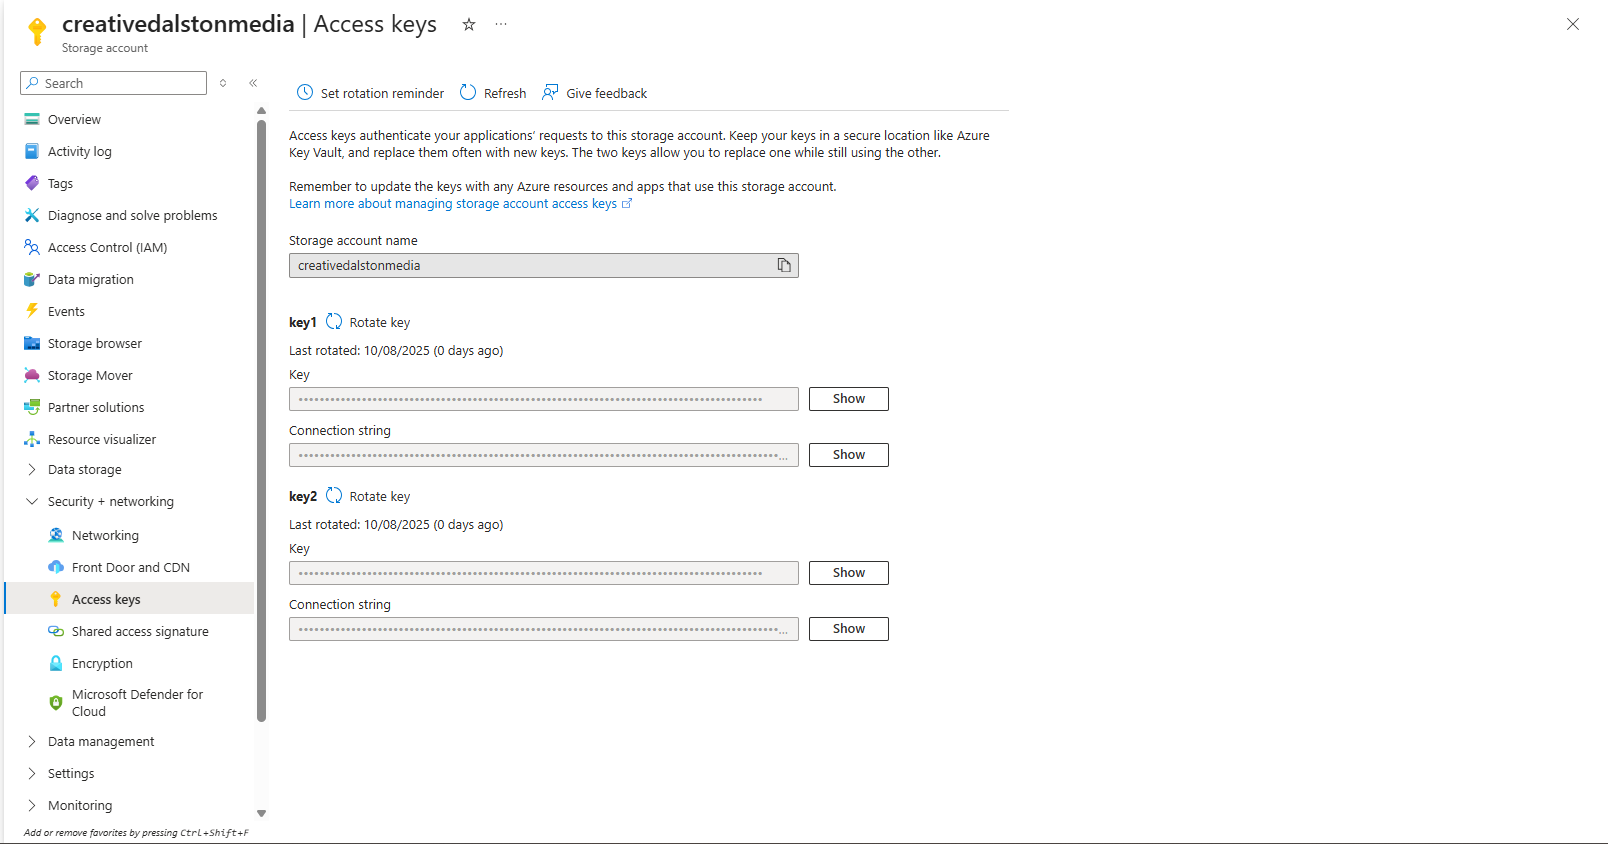
-
In your storage account → Security + networking → Access keys.
-
Copy the Connection string for key1 (you can rotate this later).
5. Configure Umbraco
In appsettings.json (or appsettings.Development.json for local dev):
{
  "Umbraco": {
    "Storage": {
      "AzureBlob": {
        "Media": {
          "ConnectionString": "DefaultEndpointsProtocol=.YOUR ACCESS KEY HERE",
          "ContainerName": "media",
          "CdnUrl": "https://<yourstorageaccount>.blob.core.windows.net/media"
        }
      }
    }
  }
}
And finally, update the Program.cs file to register the Azure Blob Storage service.
This ensures Umbraco uses Azure Blob for media storage instead of the local file system.
using Umbraco.StorageProviders.AzureBlob;

builder.Services
    .AddUmbraco(builder.Environment, builder.Configuration)
    .AddBackOffice()
    .AddWebsite()
    .AddComposers()
    .AddAzureBlobMediaFileSystem();  // This switches media to Azure
From local to cloud, your Umbraco media is now secure, scalable, and ready to deliver anywhere.